How to Make Damascus Steel
There’s something deeply satisfying about creating a billet of Damascus steel with your own hands, knowing every layer, every twist, and every ripple was forged by your skill alone. For makers, collectors, and curious craftsmen, the urge to move beyond admiring Damascus and into mastering it often starts with a simple question: how is it actually made? This guide walks you through that process, step by step—no blade-smithing detour, just pure Damascus steel from raw materials to finished billet.
Damascus steel isn’t just about a wavy pattern that catches the eye. It’s about layering, welding, and forging different types of steel into a billet that’s as strong as it is beautiful. It takes fire, time, and skill. But more than that—it requires knowing your metals and how they behave under intense heat and pressure.
In today’s metalworking world, Damascus steel is made using modern pattern-welding techniques that mimic the ancient aesthetics while improving on the material properties. This article walks you through that exact process—without going into blade-making—so you understand what it really takes to forge your own Damascus steel from scratch.
Understanding Damascus Steel
The term “Damascus steel” gets tossed around a lot, but most of what we see today isn’t the same as the wootz steel produced centuries ago in India and the Middle East. Modern Damascus is better described as pattern-welded steel. It’s made by stacking layers of different steels, forge welding them together, and manipulating the billet to create the mesmerizing patterns we associate with Damascus knives.
These aren’t just decorative. The contrasting steels offer a mix of hardness, flexibility, and corrosion resistance—qualities you won’t get from a single type of steel.
Tools and Equipment Needed
Before you strike the first spark, make sure your workshop is set up for safety and efficiency. Here’s a breakdown of what you’ll need:
| Tool/Equipment | Purpose |
| Forge (gas/coal) | Heats steel to welding temperature |
| Anvil | Surface for shaping and striking billet |
| Hammer or Power Hammer | Forge welding and shaping |
| Tongs | Holding and moving hot steel |
| Grinder or Belt Sander | Surface prep and finishing |
| Welding machine | Tack welding the steel stack (optional) |
| Flux (e.g., borax) | Prevents oxidation during welding |
| Safety gear | Gloves, goggles, apron, respirator |
No need to go industrial. Many hobbyists and blacksmiths manage just fine with a simple propane forge and a 2×72 belt grinder.
Choosing the Right Steels
This is where it gets interesting—and where most beginners stumble. Not all steels are suitable for pattern welding. You need to pair steels that bond well together, have similar thermal properties, and offer good contrast when etched.
Common Carbon Steels
These are the backbone of most Damascus recipes. They’re known for deep etching and great mechanical performance.
- 1095 – High carbon, dark etching, excellent hardness
- 1084 – More forgiving, ideal for beginners
- O1 Tool Steel – Air-hardened, deep etch, but can be finicky to weld
- W2 – Water-hardening, produces striking contrast
Nickel-Rich Steels (Bright Layers)
These steels etch lighter and create the contrast that makes Damascus pop.
- 15N20 – The gold standard for bright layers; tough and easy to weld
- L6 – Similar to 15N20 but more difficult to work with
- Nickel 200 – Almost pure nickel; used sparingly for ultra-bright layers
Stainless Steel Combinations for Damascus
Making stainless Damascus is trickier but offers corrosion resistance alongside pattern.
Popular Pairs for Stainless Damascus:
- AEB-L + 304
- RWL34 + CPM154
- N690 + 440C
⚠️ These steels often require powder metallurgy techniques or canister Damascus because stainless doesn’t forge weld easily without a sealed environment.
If you’re interested in finished products using this method, take a look at our Damascus knife set.
Steel Pairing Cheat Sheet
Here’s a quick reference table for pairing steels based on compatibility and contrast:
| Steel Pair | Weld Compatibility | Etch Contrast | Notes |
| 1095 + 15N20 | Excellent | High | Classic, easy for beginners |
| 1084 + 15N20 | Excellent | High | Forgives overheating |
| O1 + L6 | Moderate | High | More advanced; needs precise control |
| RWL34 + CPM154 | Moderate/Hard | Medium | Needs vacuum heat treatment |
| AEB-L + 304 | Difficult | Medium | Requires stainless-specific techniques |
Preparing the Billet
Once you’ve chosen your steels, the next step is to prepare the billet. This isn’t just a matter of slapping some strips together—you’ll want to be meticulous here.
Steps to Prepare:
- Clean each layer: Use a grinder or sandpaper to remove mill scale and oil.
- Cut to size: Match lengths and widths as closely as possible.
- Stack alternately: Lay them in alternating order (e.g., 1095, 15N20, 1095, etc.).
- Secure the billet: Tack weld the ends or wrap with stainless steel wire.
- Label orientation: A simple mark helps avoid confusion later.
A 15–25 layer billet is a good starting point. You can multiply that layer count significantly through folding and restacking later.
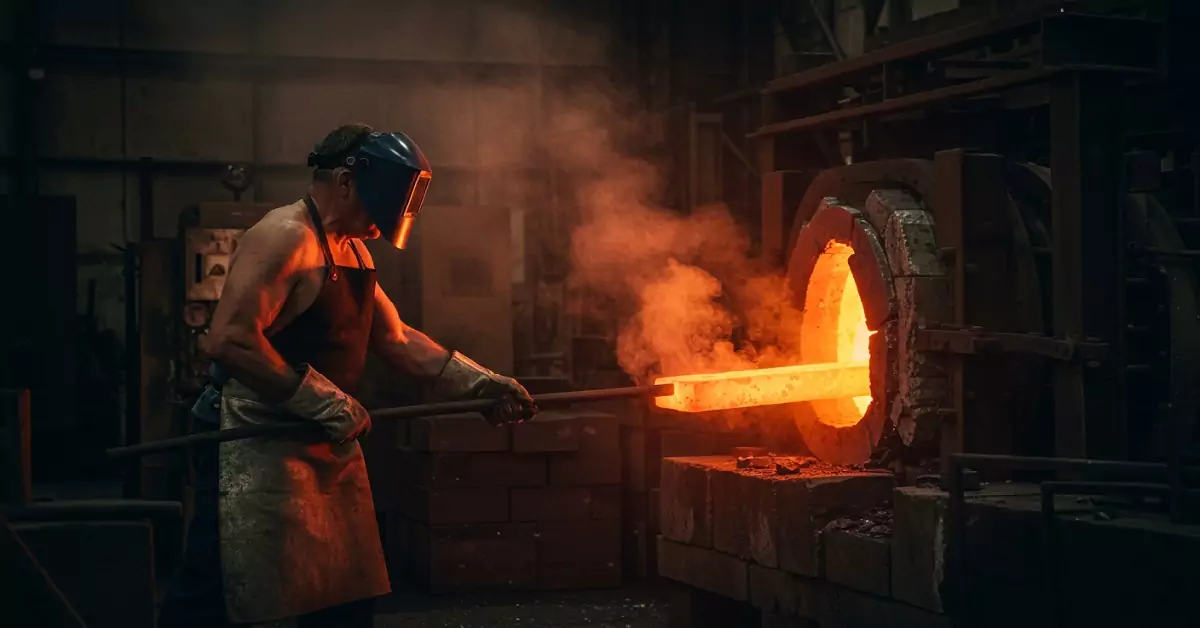
Forge Welding Process
This is where fire meets steel. You’ll bring your billet up to welding temperature (around 2200°F or 1200°C), apply flux, and hammer the layers into one solid piece.
Repeat the weld/draw/stack cycle until you achieve the desired number of layers—usually 100 to 300 depending on the pattern complexity you’re aiming for.
Creating Patterns
How Patterns Are Formed in Damascus Steel
Once your billet is solid and drawn out, the real artistry begins. Damascus patterns emerge from deliberate manipulations—twisting, grinding, cutting, or folding—that distort the layers in unique ways. For instance, twisting the hot billet produces spiral-like flows across the surface. Grinding grooves into the billet and then flattening it again creates stepped or ladder-like textures. If you gently hammer divots across the surface and forge it smooth, you’ll reveal a raindrop pattern after etching.
More advanced smiths go further, slicing a billet lengthwise and rewelding it to form symmetrical “feather” patterns, or using sealed canisters to create complex mosaics with powdered or tile Damascus. These designs aren’t just decorative—they reflect precision, control, and the maker’s personality. Mosaic types are commonly seen in high-end pieces like a Damascus bowie knife.
Heat Treatment
Why Heat Treatment Matters
No matter how beautiful your billet looks, it isn’t complete until it’s heat treated. The heat treatment process gives the billet its final mechanical properties—hardness, toughness, and stability—by changing its internal structure.
General Heat Treatment Process for Carbon Damascus
Most carbon-based Damascus (e.g., 1095 + 15N20) follows a three-step sequence:
Normalization
The billet is heated just beyond critical temperature (~1600°F), then air-cooled. This relieves internal stresses caused by forging and aligns the steel’s grain structure.
Hardening
The billet is reheated to around 1475–1500°F and immediately quenched in oil. This locks in hardness but leaves the steel brittle.
Tempering
To reduce brittleness, the billet is tempered—reheated to around 375–425°F for a couple of hours and allowed to cool. This restores flexibility and toughness.
Heat Treatment for Stainless Damascus
Stainless Damascus, made from combinations like RWL34 + CPM154, needs more care. These steels typically require precise temperature control using a digital heat-treat oven or kiln. Some processes also involve plate quenching and cryogenic treatment (e.g., submersion in dry ice or liquid nitrogen) to refine the steel’s microstructure. This ensures edge stability and corrosion resistance.
Etching and Revealing the Pattern
Preparing for Etching
Before you begin etching, the billet must be polished smooth—typically to 400–600 grit. Any remaining scratches or imperfections will interfere with the final pattern. Once polished, clean the surface thoroughly with acetone or alcohol to remove oils and residues.
Etching Process
The clean billet is submerged in a ferric chloride solution (commonly mixed 1:4 with distilled water). Within minutes, the contrast between the high-carbon and nickel-rich steels becomes visible—the darker areas usually come from high-carbon layers, while bright lines appear where nickel is present.
After achieving the desired pattern depth, the billet is removed and neutralized using a baking soda and water solution. Some makers take it a step further by dipping the etched billet into strong black coffee or applying a cold bluing solution, deepening the contrast. Once etched, the billet should be dried and coated with a protective layer—usually mineral oil or Renaissance Wax—to prevent oxidation and preserve the visual detail.
If you’re curious how this looks on a raw product, view a finished Damascus blank or a polished skinning knife.
Finishing the Billet
Why Finishing Still Matters
Even if you’re not turning the billet into a knife or tool, finishing gives it the presence and permanence that raw metal lacks. After etching, light hand-polishing or buffing can highlight depth and texture. A sealed, finished billet can be used for various purposes—whether as display art, raw material for luxury accessories, or functional steel for future projects.
Safety and Best Practices
Stay Safe at Every Step
Damascus making involves intense heat, sharp tools, and corrosive chemicals—all of which demand caution. When forge welding, always wear heat-resistant gloves, goggles, and a leather apron. Good ventilation is crucial, especially during acid etching and grinding. Metal dust from grinding carbon steel can linger in your lungs, so always wear a quality respirator.
Working with Acids
Etching solutions like ferric chloride or nitric acid should be handled with care. Always mix acid into water—not the other way around—and never etch near children or food areas. Proper storage and neutralization after use are essential for safety and disposal.
Common Mistakes to Avoid
Many new makers underestimate the importance of billet preparation. Any leftover oil, rust, or mill scale between layers can prevent a proper weld. Equally problematic is rushing the forge welding stage—if you don’t reach the right temperature, you’ll end up with cold welds that delaminate under pressure.
Not all steels are compatible, and mixing tool steel with mild or stainless variants without understanding their behavior often leads to cracking or incomplete bonding. Over-etching is another issue. Leaving the billet in acid too long can obscure fine detail and weaken the surface. Lastly, skipping normalization or tempering steps during heat treatment can result in brittle, warped, or soft billets.
Conclusion
Making Damascus steel is less about brute force and more about understanding how different metals behave when layered, welded, and worked as one. It’s a methodical process where each decision influences the final product, from the steels you select to the heat you apply and the way you shape the billet. While modern techniques allow for more precision than ever, Damascus still retains its ancient appeal. It reflects the maker’s hand and eye in a way few other materials do.
Whether you’re aiming to master the process or just understand it, know this: every etched billet tells a story. And once you make your first one, chances are—you’ll want to make another.
Want to learn more? Explore the legacy and origins of what is Damascus steel or see how this steel transforms into legendary weapons like the Damascus steel sword, Carolingian sword, or claymore sword.
